You can click on the image to see it full sized :)
Thank you for taking the time to do my tutorial. I hope you enjoy it, and would love to see your results, and receive your feedback! This tutorial was written by Mellie on March 7, 2014 and is copyright to me, the way I word thing's and the images that I use. All other images are copyright to their respective owners, including tubes/art, font, scrapkits and templates and should not be used without purchasing or written permission, nor without reading their terms of use. This tutorial is for education purposes only and is in no way intended to be used as any other purpose. This tutorial was written with the tube and kit in mind that is being shown, therefore, you may have to adjust your setting's should you choose to use images not suggested here, in this tutorial. For this tutorial, you will need to know several things. Paint Shop Pro (I am using version X), and a good working knowledge of how to operate it, layer palettes and plug-in filters, masks, templates...etc. I will also assume that you add your desired drop shadows to each and every layer. :)
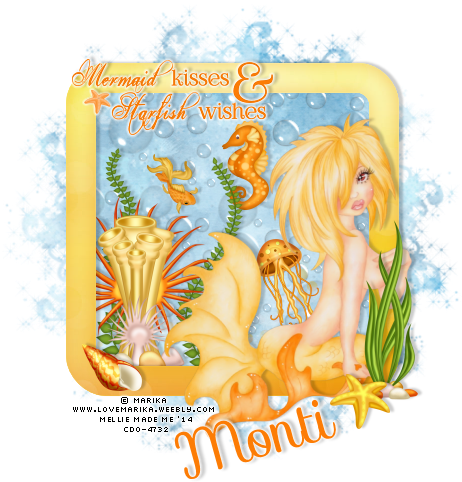
For this tutorial, you will need the following items:
March Bonus Tube by the wonderfully, talented: Markia
please do not use her work without buying it!
IB-Marika-March2014 Scrap Kit by WDDesignz
PSP X, or other similar version
Plus-in filter DSB Flux - Blast
Font of choice - I used AnneBoleynSH
Let's begin! :)
Open the frame (25), duplicate (shift + D)and close the original.
Image>resize 60%, all layers unchecked.
Grab your selection tool, choose rectangle as the shape, feather 0 and anti-alias checked, use it to draw around the frame so that we can flood fill it. Pay close attention to an area that is indented on the frame.
When you let go, add a new raster layer and flood with the white paper (3) at 50% scale. Drag this beneath the frame layer.
Open one of your gold papers and copy/paste as a new layer. Drag to bottom layer in your palette. Image>resize 30%. Apply DSB Flux - Blast: percentage 20. Apply again, only in the drop down, change to right. Apply again, only in the drop down change to upwards. Apply again, only in the drop down change to downwards. You should have a total of 4 times applying it. Lower opacity to 85%.
Open (10), copy/paste as new layer. Resize to 50%, and drop shadow.
Open (21), copy/paste as new layer. Resize to 50%. Adjust>sharpness>sharpen. Drop shadow.
Place in lower right corner of tag frame.
Open (3) copy/paste as new layer, drag to top. Resize to 20%. Adjust>Sharpness>Sharpen and drop shadow. Drag it over the gold flower layer and position in center of flower as shown in my tag above.
Click on your white paper fill layer. Open your tube, largest close-up layer, copy/paste as new layer. See those extra pixels hanging around? We have to get rid of those, so go back to your white paper fill layer, selections>select all>selections> float>selections>invert, now click on your tube layer and tap delete on the keyboard. All gone :)
Lower the opacity to 40%.
Copy/paste the smallest of your tube as a new layer. Image>resize 85%. Sharpen and drop shadow.
Add your name and your artist copyright information.
Save your image as psp, so you always have it.
Merge visible, copy/paste as new image and save as. Don't forget on the original image, undo merge so you have your image saved on layers. :)
Thank you for doing this tutorial. I'm glad you stopped by. I hope to have more tutorials in the near future, so keep checking back. :)